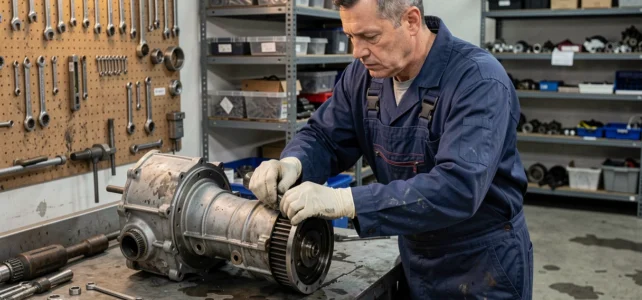
A gearbox flush is not just about draining and refilling. The oil residue trapped in the internal channels, bearing housings, and teeth directly affects the quality of relubrication. If poorly executed, the operation degrades more than it protects.
Incompatible residues and cross-contamination: the real risk of flushing
After draining, a significant amount of used oil remains in the gearbox. It stagnates in the cavities of the housings, the grooves of seals, and the forced lubrication circuits. If this residual oil is chemically incompatible with the new charge, we observe precipitation reactions that generate solid deposits on the synchronizers and gears.
The problem worsens when the previous oil contained EP (extreme pressure) additives based on sulfur-phosphorus and the new formulation relies on synthetic esters. The mixture causes accelerated degradation of anti-wear properties. This is why the intermediate flushing procedure exists: it aims to reduce the residual concentration below an acceptable threshold.
Klüber Lubrication distinguishes three levels of contamination that dictate the method. On a clean gearbox, hot draining followed by direct filling is sufficient. On a contaminated gearbox, a flush with dedicated oil and running empty for thirty to sixty minutes is necessary. On a heavily contaminated gearbox, using a solvent like Varnasolv for twenty-four to forty-eight hours in operation becomes the only viable option before complete draining.
Before proceeding, it is essential to know precisely how to clean and flush a gearbox according to the level of contamination observed, lest you disperse abrasive particles into previously unaffected areas.
Drain-and-fill or pressure flushing: choosing the right gearbox cleaning method
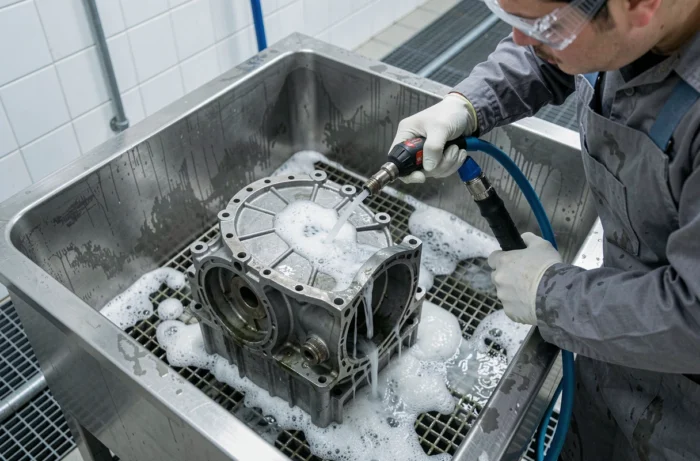
The current trend among manufacturers and in recent workshop manuals favors drain-and-fill with internal filter replacement over aggressive pressure flushing. The reason is mechanical: a high-pressure flush can dislodge particles trapped in the filter and redistribute them in the hydraulic circuit, clogging solenoids or scratching friction surfaces.
We recommend pressure flushing only when oil analysis reveals a high concentration of ferrous particles or oxidation products. In all other cases, the repeated drain-and-fill method (drain, fill with new oil, brief operation, second drain) provides a sufficient dilution rate to neutralize residues.
Case of dual-clutch automatic gearboxes
On DSG transmissions and equivalents, the mechanical part and the mechatronic part follow distinct maintenance logics. The mechatronics, which contain the control solenoids, are not necessarily drained at the same time as the mechanical housing. Using an aggressive flushing solvent throughout the circuit risks damaging the internal seals of the mechatronic unit.
We recommend treating these two volumes separately: classic mechanical draining on one side, checking the mechatronic level on the other, while respecting the service temperature prescribed by the manufacturer for filling.
Filling temperature and level check after flushing
A perfectly executed flush loses all value if the final filling is done at the wrong temperature. Recent manufacturer guidelines emphasize this point: the level is checked at the service temperature, not cold. On most automatic gearboxes, the range is between 35 and 45 °C depending on the manufacturer. Below this, the oil volume may seem correct but will be insufficient once the gearbox reaches temperature.
The recommended procedure after flushing:
- Fill with the prescribed amount of new oil, engine off, gearbox in neutral or park depending on the type
- Start the engine and manually cycle through all gears (or via the diagnostic tool on controlled gearboxes) to initiate internal circulation
- Let it idle until the target temperature range is reached, then check the level at the check plug or dipstick
- Top up if necessary with small additions, rechecking after each addition
Seals, filters, and peripherals: often overlooked cleaning steps
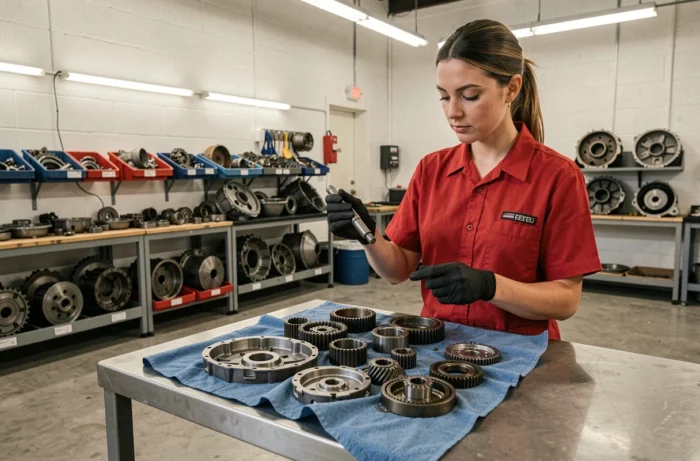
Workshop manuals for Tesla, for example, on the Front Drive Unit of the Model 3, detail the removal of access elements and the systematic replacement of O-rings before filling. This is not an excess of caution: an O-ring compressed for tens of thousands of kilometers does not regain its original cross-section once removed. Reusing it introduces a risk of slow leakage that will contaminate the new oil within weeks.
The internal filter, when it exists, is systematically replaced during a flush. A clogged filter upstream of the final filling reduces the lubrication flow and nullifies the benefit of cleaning. On ZF 8HP gearboxes, the filter is accessible from the bottom of the housing and its replacement is an integral part of the standard procedure.
Priming the oil pump
On certain architectures, the gearbox oil pump requires specific priming after complete draining. Starting without priming causes dry running in the initial moments, enough to mark the friction surfaces. The procedure varies by manufacturer: manual rotation of the input shaft, pre-filling the circuit through a dedicated opening, or a controlled sequence via the diagnostic tool.
Neglecting this step turns preventive maintenance into a source of damage. Flushing and cleaning a gearbox do not end with filling: they conclude when the internal oil pressure is confirmed and all gears shift smoothly without jolts or noise.